Team statistics
FACTS
FACTS analysis of team performance: how teams play together, not only where they finished.
FACTS PROWe use cookies
We use necessary cookies to make the site work, and optional ones for functionality and analytics. You decide. Read the privacy policy.

Team statistics
FACTS analysis of team performance: how teams play together, not only where they finished.
FACTS PROClick a team to highlight its drop points and jump to its card
Miramar
matches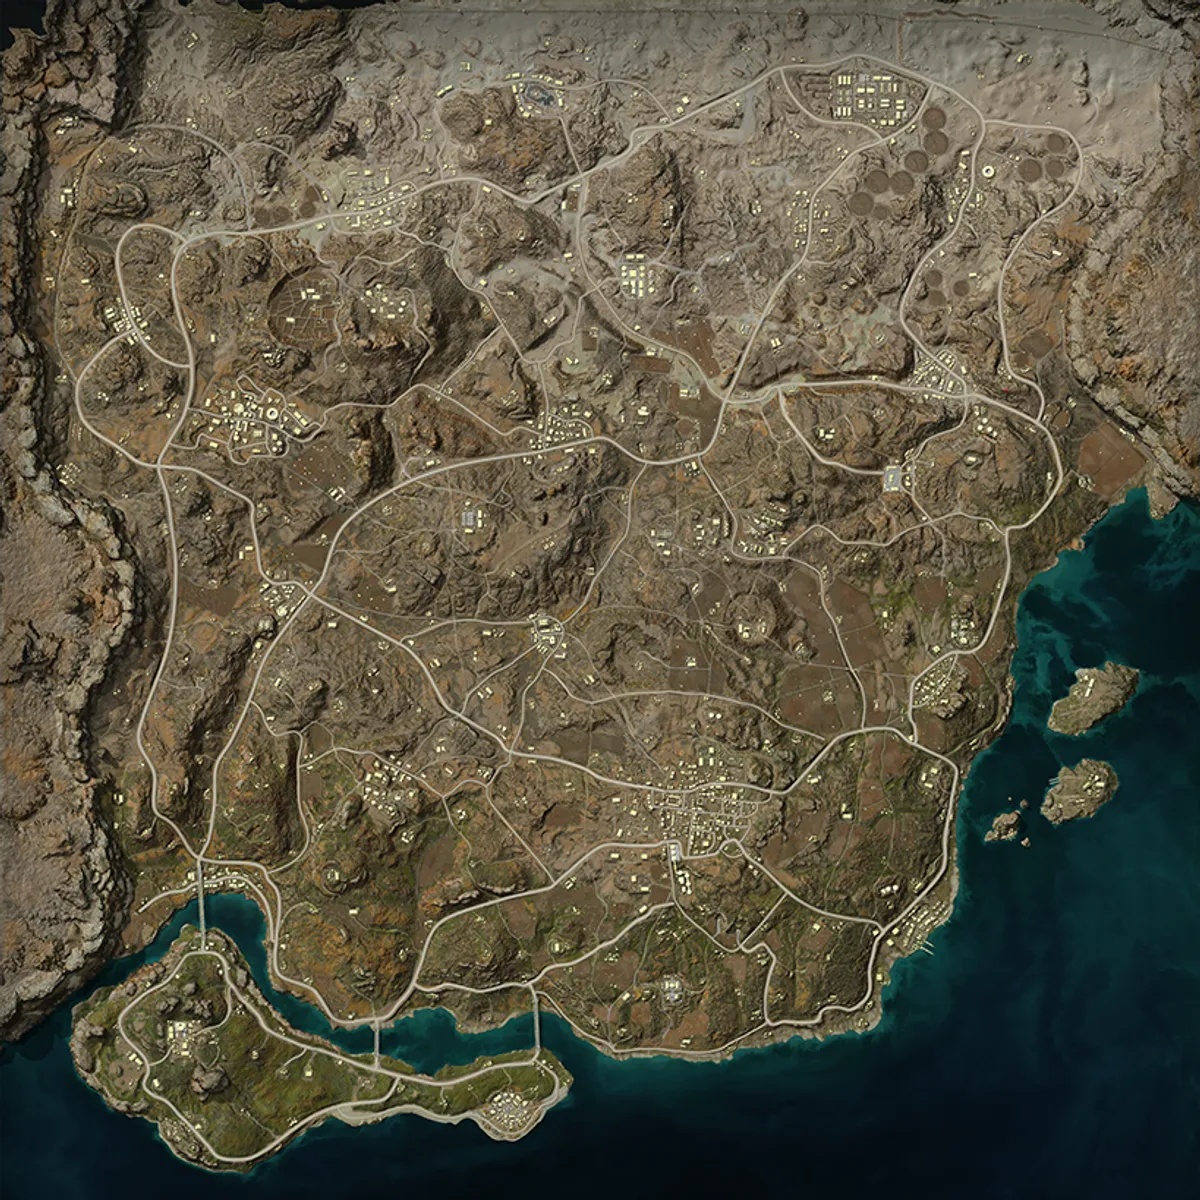
Erangel
matches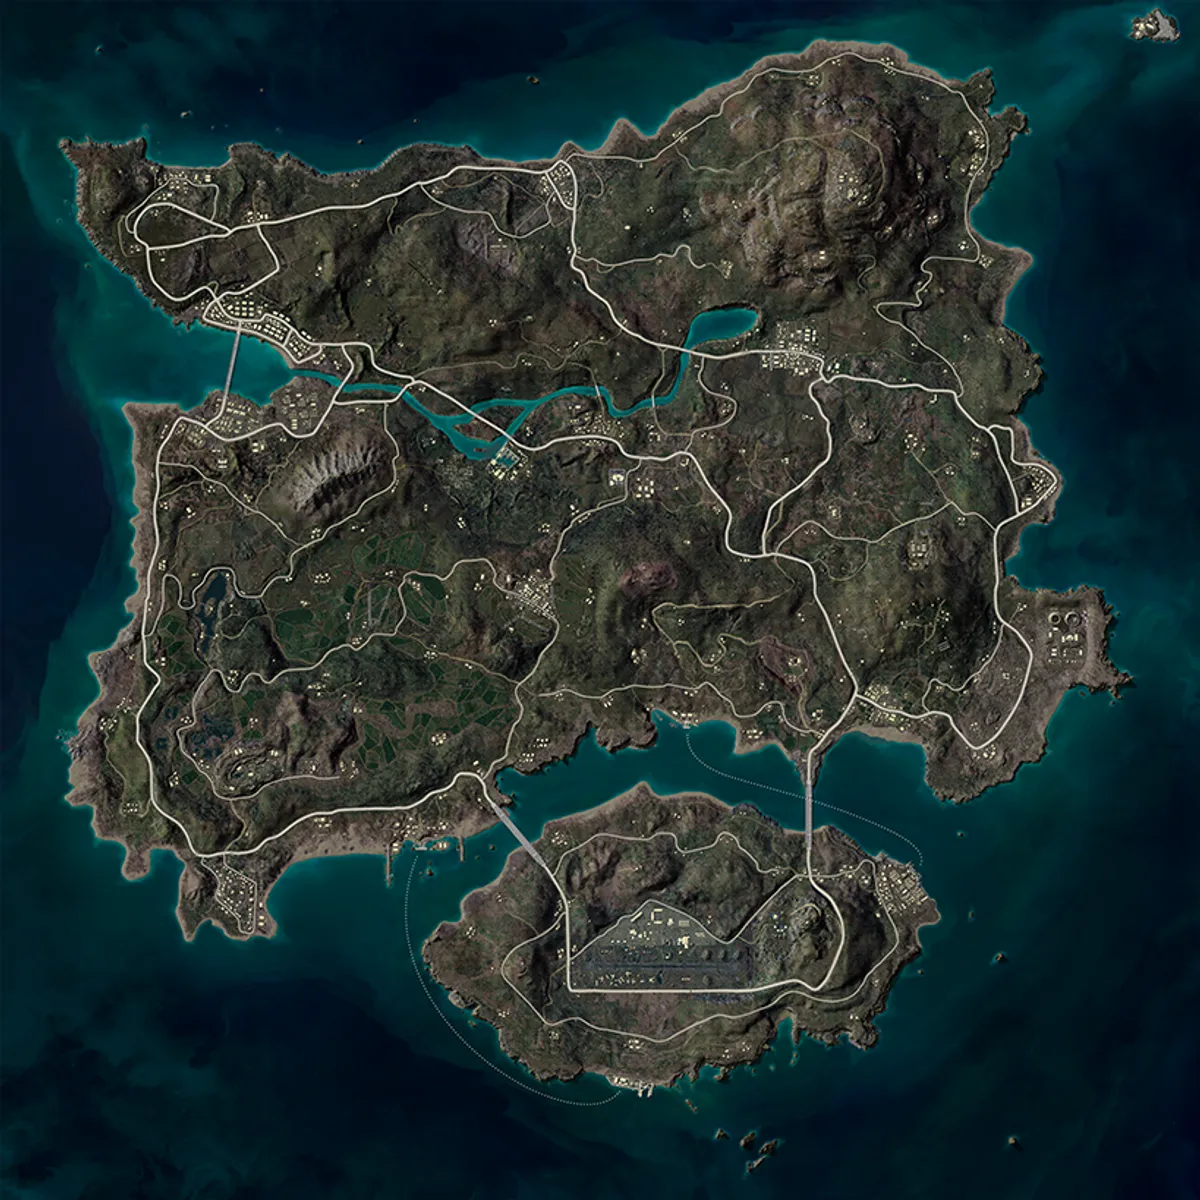
Taego
match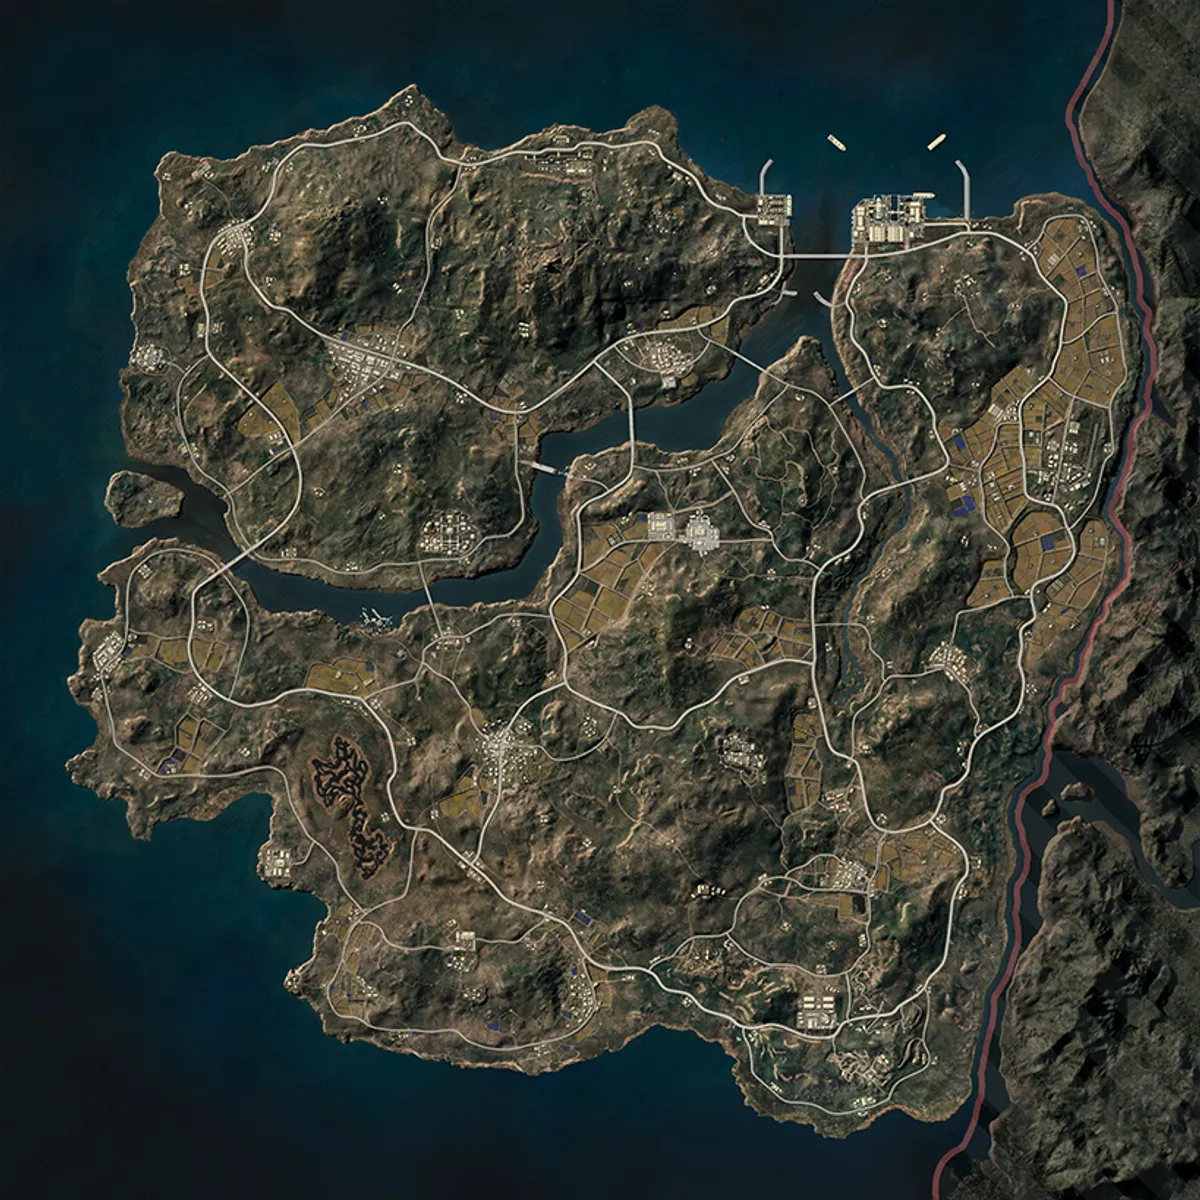
Rondo
match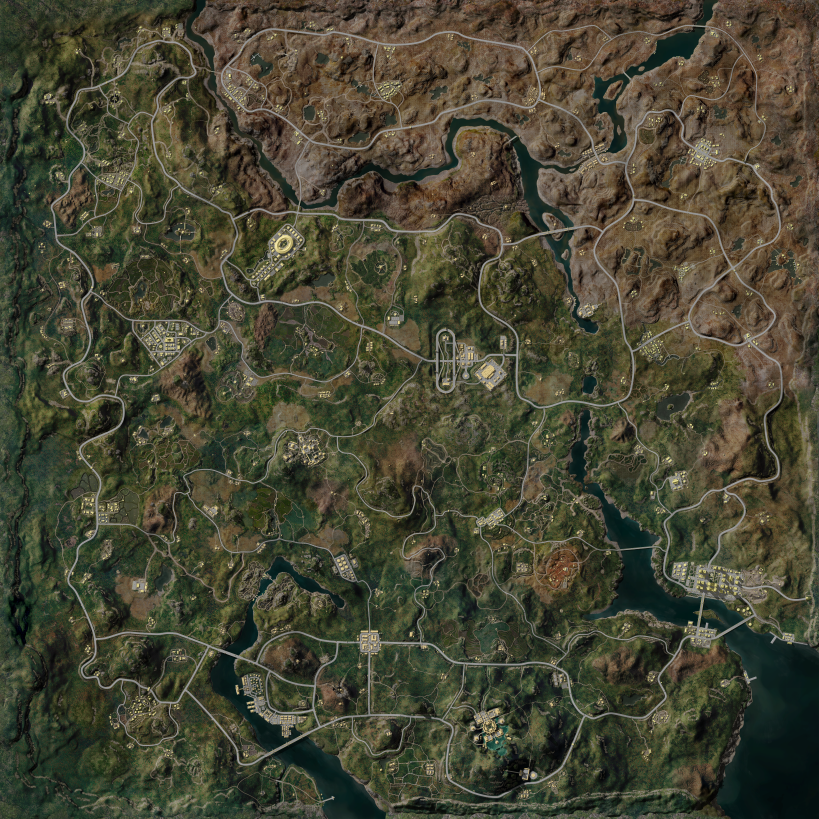
6 matches in scope
Consistency: unstable
Strongest at finishing fights under pressure (76 of 100, 37 knocks). Weakest at time to finish fights (59 of 100, 42 fights).
Consistency: variable
Strongest at avoiding late rotations (79 of 100, 21 zone updates). Weakest at winning as the third party (52 of 100, 20 fights).
Consistency: unstable
Strongest at winning fights (57 of 100, 42 fights). Weakest at trading kills quickly (54 of 100, 30 trades).
Consistency: variable
Strongest at squad spacing (80 of 100, 3240 seconds). Weakest at rotation pace before phase 3 (16 of 100, 3837 seconds).
Consistency: steady
Strongest at avoiding bleeding out (86 of 100, 30 matches). Weakest at staying alive (84 of 100, 29 matches).
100% to top 3 (4 matches with at least 3 left by phase 6)
Zone luck 48/100 · average placement 3.3 vs 8 expected from the zones, 4.7 better than the zones predicted (6 matches) · 80 gas damage per match
Biggest leak: rotation pace before phase 3 (35 points)
Recommended action: Adjust the rotation pace before phase 3
Faced this tournament
6 matches in scope
Consistency: variable
Strongest at time to finish fights (74 of 100, 30 fights). Weakest at finishing fights under pressure (54 of 100, 26 knocks).
Consistency: variable
Strongest at recovering after the first loss (66 of 100, 6 matches). Weakest at reacting to a new zone (44 of 100, 21 zone updates).
Consistency: variable
Strongest at winning fights (70 of 100, 42 fights). Weakest at trading kills quickly (70 of 100, 30 trades).
Consistency: steady
Strongest at rotation pace before phase 3 (96 of 100, 3668 seconds). Weakest at holding the edge safely (31 of 100, 717 seconds).
Strongest at avoiding bleeding out (88 of 100, 30 matches). Weakest at staying alive (61 of 100, 24 matches).
0% to top 3 (1 match with at least 3 left by phase 6)
Zone luck 59/100 · average placement 7.8 vs 8 expected from the zones, 0.2 better than the zones predicted (6 matches) · 97 gas damage per match
Biggest leak: holding the edge safely (costs 10% against the elite)
Recommended action: Scout the rotation earlier
Faced this tournament
6 matches in scope
Strongest at knock-to-kill conversion (93 of 100, 16 knocks). Weakest at time to finish fights (59 of 100, 12 fights).
Consistency: unstable
Strongest at plan switches that pay off (64 of 100, 9 plan switches). Weakest at avoiding late rotations (39 of 100, 15 zone updates).
Consistency: variable
Strongest at winning fights (27 of 100, 30 fights). Weakest at trading kills quickly (14 of 100, 29 trades).
Consistency: unstable
Strongest at squad spacing (99 of 100, 2346 seconds). Weakest at staying playable late in the match (52 of 100, 1717 seconds).
Consistency: unstable
Strongest at avoiding bleeding out (56 of 100, 29 matches). Weakest at staying alive (51 of 100, 24 matches).
100% to top 3 (1 match with at least 3 left by phase 6)
Zone luck 56/100 · average placement 8.7 vs 8.5 expected from the zones, 0.2 worse than the zones predicted (6 matches) · 162 gas damage per match
Biggest leak: winning fights (costs 60% against the elite)
Recommended action: Scout the rotation earlier
Faced this tournament
6 matches in scope
Consistency: unstable
Strongest at finishing fights under pressure (63 of 100, 14 knocks). Weakest at knock-to-kill conversion (47 of 100, 25 knocks).
Consistency: unstable
Strongest at recovering after the first loss (74 of 100, 6 matches). Weakest at surviving a third party (31 of 100, 12 fights).
Strongest at trading kills quickly (58 of 100, 29 trades). Weakest at winning fights (30 of 100, 34 fights).
Consistency: variable
Strongest at squad spacing (96 of 100, 2718 seconds). Weakest at staying playable late in the match (51 of 100, 1586 seconds).
Consistency: unstable
Strongest at staying alive (56 of 100, 24 matches). Weakest at avoiding bleeding out (43 of 100, 29 matches).
0% to top 3 (1 match with at least 3 left by phase 6)
Zone luck 82/100 · average placement 9.2 vs 7.7 expected from the zones, 1.5 worse than the zones predicted (6 matches) · 18 gas damage per match
Biggest leak: winning fights (costs 65% against the elite)
Recommended action: Scout the rotation earlier
Faced this tournament
6 matches in scope
Phase 2 adds this factor.
Consistency: unstable
Strongest at reacting to a new zone (46 of 100, 19 zone updates). Weakest at plan switches that pay off (27 of 100, 13 plan switches).
Strongest at trading kills quickly (94 of 100, 24 trades). Weakest at winning fights (33 of 100, 30 fights).
Consistency: unstable
Strongest at squad spacing (86 of 100, 2809 seconds). Weakest at staying playable late in the match (38 of 100, 2498 seconds).
Consistency: steady
Strongest at staying alive (55 of 100, 24 matches). Weakest at avoiding bleeding out (51 of 100, 24 matches).
50% to top 3 (2 matches with at least 3 left by phase 6)
Zone luck 47/100 · average placement 7.2 vs 8.4 expected from the zones, 1.2 better than the zones predicted (6 matches) · 209 gas damage per match
Biggest leak: avoiding late rotations (costs 90% against the elite)
Recommended action: Scout the rotation earlier
Faced this tournament
6 matches in scope
Consistency: variable
Strongest at finishing fights under pressure (83 of 100, 12 knocks). Weakest at time to finish fights (41 of 100, 14 fights).
Consistency: unstable
Strongest at surviving a third party (55 of 100, 7 fights). Weakest at avoiding late rotations (32 of 100, 19 zone updates).
Consistency: variable
Strongest at trading kills quickly (71 of 100, 26 trades). Weakest at winning fights (45 of 100, 31 fights).
Consistency: unstable
Strongest at squad spacing (82 of 100, 2211 seconds). Weakest at avoiding rotation deaths (30 of 100, 24 deaths).
Consistency: steady
Strongest at avoiding bleeding out (76 of 100, 26 matches). Weakest at staying alive (42 of 100, 24 matches).
50% to top 3 (2 matches with at least 3 left by phase 6)
Zone luck 41/100 · average placement 9.7 vs 9.4 expected from the zones, 0.3 worse than the zones predicted (6 matches) · 299 gas damage per match
Biggest leak: avoiding late rotations (costs 84% against the elite)
Recommended action: Scout the rotation earlier
Faced this tournament
6 matches in scope
Consistency: unstable
Strongest at finishing fights under pressure (70 of 100, 20 knocks). Weakest at time to finish fights (28 of 100, 29 fights).
Consistency: unstable
Strongest at winning as the third party (80 of 100, 15 fights). Weakest at avoiding late rotations (31 of 100, 19 zone updates).
Consistency: steady
Strongest at winning fights (82 of 100, 35 fights). Weakest at trading kills quickly (38 of 100, 26 trades).
Consistency: unstable
Strongest at holding the edge safely (61 of 100, 710 seconds). Weakest at staying close to the next zone (39 of 100, 23 phases).
Consistency: unstable
Strongest at staying alive (63 of 100, 27 matches). Weakest at avoiding bleeding out (44 of 100, 26 matches).
67% to top 3 (3 matches with at least 3 left by phase 6)
Zone luck 35/100 · average placement 5.7 vs 8.7 expected from the zones, 3 better than the zones predicted (6 matches) · 263 gas damage per match
Biggest leak: avoiding late rotations (costs 90% against the elite)
Recommended action: Scout the rotation earlier
Faced this tournament
6 matches in scope
Consistency: unstable
Strongest at knock-to-kill conversion (55 of 100, 28 knocks). Weakest at finishing fights under pressure (35 of 100, 22 knocks).
Consistency: variable
Strongest at surviving a third party (60 of 100, 13 fights). Weakest at reacting to a new zone (16 of 100, 13 zone updates).
Strongest at winning fights (65 of 100, 38 fights). Weakest at trading kills quickly (43 of 100, 25 trades).
Consistency: unstable
Strongest at rotation pace before phase 3 (84 of 100, 3327 seconds). Weakest at avoiding rotation deaths (44 of 100, 24 deaths).
Consistency: variable
Strongest at avoiding bleeding out (42 of 100, 25 matches). Weakest at staying alive (36 of 100, 24 matches).
0% to top 3 (1 match with at least 3 left by phase 6)
Zone luck 71/100 · average placement 9.2 vs 7.7 expected from the zones, 1.4 worse than the zones predicted (6 matches) · 84 gas damage per match
Biggest leak: reacting to a new zone (costs 97.8s against the elite)
Recommended action: Scout the rotation earlier
Faced this tournament
6 matches in scope
Strongest at knock-to-kill conversion (30 of 100, 21 knocks). Weakest at finishing fights under pressure (13 of 100, 16 knocks).
Consistency: variable
Strongest at avoiding late rotations (82 of 100, 14 zone updates). Weakest at winning as the third party (31 of 100, 11 fights).
Strongest at trading kills quickly (67 of 100, 23 trades). Weakest at winning fights (22 of 100, 23 fights).
Consistency: unstable
Strongest at squad spacing (65 of 100, 2848 seconds). Weakest at rotation pace before phase 3 (45 of 100, 3745 seconds).
Consistency: steady
Strongest at avoiding bleeding out (59 of 100, 23 matches). Weakest at staying alive (47 of 100, 23 matches).
No matches yet with at least 3 left by phase 6
Zone luck 40/100 · average placement 10.2 vs 8.7 expected from the zones, 1.5 worse than the zones predicted (6 matches) · 39 gas damage per match
Biggest leak: rotation pace before phase 3 (35 points)
Recommended action: Adjust the rotation pace before phase 3
Faced this tournament
6 matches in scope
Consistency: unstable
Strongest at time to finish fights (50 of 100, 35 fights). Weakest at knock-to-kill conversion (49 of 100, 52 knocks).
Consistency: variable
Strongest at winning as the third party (62 of 100, 14 fights). Weakest at avoiding late rotations (44 of 100, 18 zone updates).
Consistency: unstable
Strongest at winning fights (60 of 100, 40 fights). Weakest at trading kills quickly (51 of 100, 25 trades).
Consistency: variable
Strongest at staying playable late in the match (51 of 100, 3230 seconds). Weakest at rotation pace before phase 3 (15 of 100, 3613 seconds).
Consistency: steady
Strongest at staying alive (58 of 100, 24 matches). Weakest at avoiding bleeding out (47 of 100, 25 matches).
100% to top 3 (2 matches with at least 3 left by phase 6)
Zone luck 31/100 · average placement 5 vs 8.8 expected from the zones, 3.8 better than the zones predicted (6 matches) · 505 gas damage per match
Biggest leak: rotation pace before phase 3 (35 points)
Recommended action: Scout the rotation earlier
Faced this tournament
6 matches in scope
Consistency: steady
Strongest at knock-to-kill conversion (58 of 100, 25 knocks). Weakest at time to finish fights (23 of 100, 14 fights).
Consistency: variable
Strongest at surviving a third party (58 of 100, 12 fights). Weakest at reacting to a new zone (31 of 100, 10 zone updates).
Consistency: variable
Strongest at trading kills quickly (62 of 100, 25 trades). Weakest at winning fights (52 of 100, 34 fights).
Consistency: unstable
Strongest at squad spacing (85 of 100, 2664 seconds). Weakest at holding the edge safely (32 of 100, 423 seconds).
Consistency: steady
Strongest at staying alive (44 of 100, 26 matches). Weakest at avoiding bleeding out (10 of 100, 25 matches).
0% to top 3 (1 match with at least 3 left by phase 6)
Zone luck 38/100 · average placement 8.3 vs 8.9 expected from the zones, 0.6 better than the zones predicted (6 matches) · 129 gas damage per match
Biggest leak: avoiding rotation deaths (costs 48% against the elite)
Recommended action: Scout the rotation earlier
Faced this tournament
6 matches in scope
Strongest at finishing fights under pressure (50 of 100, 15 knocks). Weakest at knock-to-kill conversion (33 of 100, 20 knocks).
Consistency: variable
Strongest at plan switches that pay off (61 of 100, 10 plan switches). Weakest at winning as the third party (32 of 100, 13 fights).
Strongest at trading kills quickly (40 of 100, 22 trades). Weakest at winning fights (35 of 100, 37 fights).
Consistency: steady
Strongest at squad spacing (98 of 100, 2629 seconds). Weakest at holding the edge safely (39 of 100, 905 seconds).
Strongest at staying alive (48 of 100, 24 matches). Weakest at avoiding bleeding out (30 of 100, 21 matches).
100% to top 3 (1 match with at least 3 left by phase 6)
Zone luck 57/100 · average placement 7.8 vs 7.9 expected from the zones, 0.1 better than the zones predicted (6 matches) · 188 gas damage per match
Biggest leak: recovering after the first loss (11 points)
Recommended action: Fixed smoke protocol and revive roles
Faced this tournament
6 matches in scope
Consistency: variable
Strongest at time to finish fights (48 of 100, 19 fights). Weakest at finishing fights under pressure (29 of 100, 21 knocks).
Consistency: variable
Strongest at plan switches that pay off (60 of 100, 17 plan switches). Weakest at surviving a third party (30 of 100, 16 fights).
Strongest at trading kills quickly (51 of 100, 28 trades). Weakest at winning fights (50 of 100, 30 fights).
Consistency: unstable
Strongest at squad spacing (80 of 100, 3208 seconds). Weakest at avoiding rotation deaths (44 of 100, 25 deaths).
Consistency: steady
Strongest at staying alive (50 of 100, 24 matches). Weakest at avoiding bleeding out (28 of 100, 28 matches).
No matches yet with at least 3 left by phase 6
Zone luck 50/100 · average placement 9 vs 8.4 expected from the zones, 0.6 worse than the zones predicted (6 matches) · 92 gas damage per match
Biggest leak: avoiding rotation deaths (costs 65% against the elite)
Recommended action: Scout the rotation earlier
Faced this tournament
6 matches in scope
Phase 2 adds this factor.
Consistency: variable
Strongest at winning as the third party (97 of 100, 5 fights). Weakest at surviving a third party (7 of 100, 8 fights).
Consistency: steady
Strongest at trading kills quickly (75 of 100, 25 trades). Weakest at winning fights (38 of 100, 21 fights).
Consistency: variable
Strongest at squad spacing (97 of 100, 1708 seconds). Weakest at rotation pace before phase 3 (11 of 100, 3368 seconds).
Consistency: variable
Strongest at avoiding bleeding out (44 of 100, 25 matches). Weakest at staying alive (28 of 100, 24 matches).
No matches yet with at least 3 left by phase 6
Zone luck 34/100 · average placement 12.7 vs 9.2 expected from the zones, 3.5 worse than the zones predicted (6 matches) · 74 gas damage per match
Biggest leak: rotation pace before phase 3 (32 points)
Recommended action: Adjust the rotation pace before phase 3
Faced this tournament
6 matches in scope
Strongest at knock-to-kill conversion (8 of 100, 16 knocks). Weakest at knock-to-kill conversion (8 of 100, 16 knocks).
Strongest at reacting to a new zone (63 of 100, 5 zone updates). Weakest at avoiding late rotations (23 of 100, 5 zone updates).
Strongest at trading kills quickly (22 of 100, 29 trades). Weakest at winning fights (18 of 100, 15 fights).
Consistency: unstable
Strongest at squad spacing (84 of 100, 1700 seconds). Weakest at staying playable late in the match (50 of 100, 796 seconds).
Consistency: unstable
Strongest at avoiding bleeding out (88 of 100, 27 matches). Weakest at staying alive (35 of 100, 24 matches).
100% to top 3 (1 match with at least 3 left by phase 6)
Zone luck 65/100 · average placement 12.2 vs 9 expected from the zones, 3.2 worse than the zones predicted (6 matches) · 222 gas damage per match
Biggest leak: staying alive (19 points)
Recommended action: Scout the rotation earlier
Faced this tournament
6 matches in scope
Phase 2 adds this factor.
Consistency: variable
Strongest at plan switches that pay off (63 of 100, 11 plan switches). Weakest at recovering after the first loss (33 of 100, 6 matches).
Phase 2 adds this factor.
Consistency: unstable
Strongest at squad spacing (74 of 100, 2188 seconds). Weakest at staying close to the next zone (30 of 100, 21 phases).
Strongest at staying alive (43 of 100, 24 matches). Weakest at avoiding bleeding out (13 of 100, 20 matches).
0% to top 3 (2 matches with at least 3 left by phase 6)
Zone luck 46/100 · average placement 10.2 vs 8.9 expected from the zones, 1.3 worse than the zones predicted (6 matches) · 274 gas damage per match
Biggest leak: recovering after the first loss (12 points)
Recommended action: Scout the rotation earlier
Faced this tournament


